Garden sensors measure soil moisture and greenhouse temperature

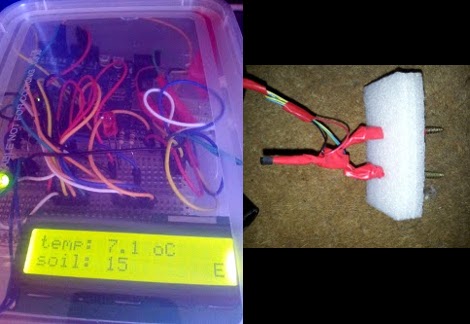
[Andy] is getting his garden up and running. This year it’s been pretty cold so he decided to get small plastic domed tunnel which acts as a mini greenhouse. To help monitor that environment he built this sensor array which displays temperature and soil moisture readings.

Temperature is quite simple. He’s using a TMP36 sensor which is held a few inches above the soil. The moisture sensor is of his own design. It uses two building screws embedded in foam. These are pushed into the soil and a resistance reading indicates moisture level. By driving voltage on one screw, and measuring voltage on the other he gets some useful data. It’s not a standardized value, but observation over time will let him know how the scale relates to dry or wet soil.

During the build process he found that he needed a pull-down resistor on the probe used to take the moisture measurement. He also uses an I/O pin to drive the other screw. This gives him a way to shut off the juice when not taking a reading. We just hope he’s either got a current limiting resistor, or is using a transistor to drive it high.
More pins and more power with a DIY Sanguino

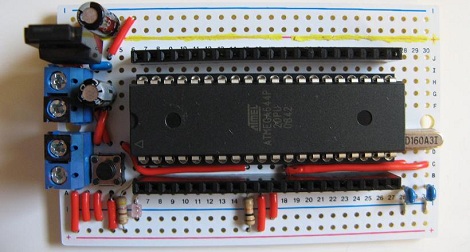
Not long after [CulinarilySpeaking] got into the Arduino game, he began to want more IO pins and a larger program space for more ambitious projects. This, of course, led him down the path towards the Sanguino, the ATMega644-based dev board with many more IO pins than Arduino boards based on the ATMega328. Instead of buying new, [CulinarilySpeaking] decided to make his own Sanguino, and the results look fantastic.

After coming across an ATMega644 while browsing for parts on line, [CulinarilySpeaking] found the micro that had enough power and pins to do some fairly complex stuff. A bunch of other people though about using this chip in the Arduino environment before, so all [CulinarilySpeaking] had to do was copy the circuit with the parts he had on hand.

After soldering all the components to the neat breadboard-style PCB, [CulinarilySpeaking] fired up the Arduino IDE and put the Blink example on the 644. Everything worked, so now there’s a board with much more power than a standard Arduino built with only $8 USD in parts.

via reddit

A much easier take on an Android garage door opener

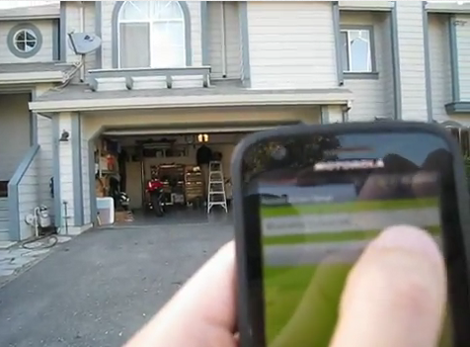
[Andy] is taking the complexity of a smartphone-controlled garage door down a notch with this project. He’s not interested in checking on the state of the door (open or closed) using a video feed, or in controlling the thing from anywhere in the world. He just wants to use his Android as the remote control and we say amen to that.

The circuitry in the garage is pretty simple. A relay is used to simulate a button press on the in-garage wired opener. This relay is driven by an Arduino which uses a Bluetooth shield for connectivity. Since his Android phone has a Bluetooth modem the rest of the project is just app development. As you can see in the video, the app automatically connects to the Arduino when it is launched, then waits for the button press to send the electronic equivalent of ‘Open Sesame”.

The project covers a series of posts so if you want to see how he got the app up and running make sure to browse through his archives. The next iteration for this app needs to be a background widget that enables Bluetooth, connects to the Arduino, and send s the open command all with one press.

[Read more…]

UnoJoy makes your Arduino play well with Xbox 360 or PS3

We’ve seen Arduino-based game controllers before, but the UnoJoy project wants to make it easy for you to plug them into a gaming console.

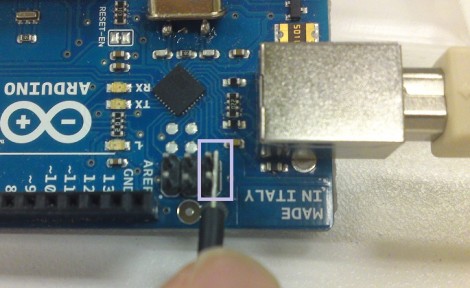
The project is targeted at the Arduino UNO. Why only that hardware… isn’t Arduino universal? Well yes, but in this case the bootloader needs to be overwritten so that the Arduino will enumerate as an approved controller on your game system. Here the device is being put into DFU mode in preparation for flashing.

Once that part’s done it’s time to get to work on your own hardware interface. The UnoJoy library provides all of the hooks you need to push controller data to the game console, it’s up to you to use the Arduino IDE to decide when these events happen. This would be a great opportunity to make the Pinball Stop controllers work with the Xbox Live Arcade games. Or take a look after the break to see [Alan Chatham] using the library to control Gran Turismo as if it were an NES Power Pad game.

[Read more…]

RC car controller and receiver replacement

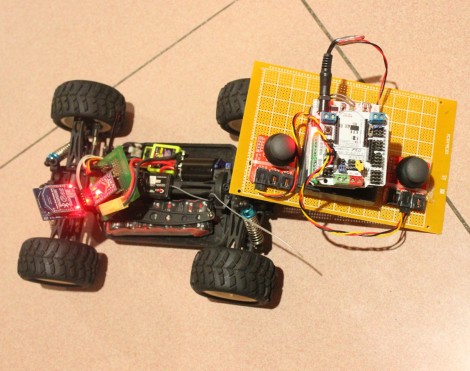
This radio controlled car controller replacement is a great project to try some new things with that fancy hardware you’ve got sitting around. The hack comes in two parts, the receiver and the transmitter. They’re communicating via Bluetooth so if you only want to build one side of the hardware you should be able to make most Bluetooth devices work as the other. For instance, build the receiver for the car and control it with a Wii remote. Or use the controller to play emulator games on an Android phone.

Both pieces are Arduino based. The controller makes use of a Freeduino with a Bluetooth shield as well as a pair of analog stick breakout boards. The car side of things uses a Bluetooth Bee (a Bluetooth module that is pin compatible with an Xbee socket) and an Arduino pro. Once the hardware bits are assembled, it takes very little code to get the system up and running. Join us after the break for a quick clip of the car in action.

[Read more…]

Program your Arduino via IR using the Arduino IDE

Here’s a way to program an Arduino wirelessly while still using the stock IDE. It uses an alternative bootloader called SuperDuplex along with an IR receiver like the ones used for TV remotes.

As you can see, this does take two parts. There is the target device which has the IR receiver, as well as the transmitting unit which connects to the computer via USB. You can see a demonstration of the programming process after the break. It might be a bit slow, but nothing outrageous.

With hobby electronics we always thing that “what does it do?/what is it for?” is the wrong question. But in this case we there’s a very apparent use for it. If you’ve built a gadget for use in a harsh environment and want to keep the number of openings in the enclosure to a minimum (like for an underwater ROV) this is perfect. Just make sure there’s a window for the IR receiver and you’ll be able to program as much as you want. Of course it still looks like you need a method to manually reset the target chip, but you’ll think of something.

[Read more…]