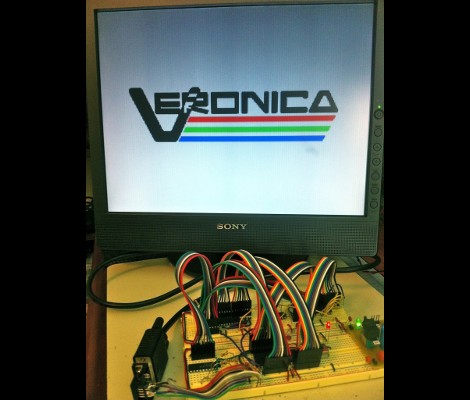
Veronica gets VRAM and its own boot logo

[Quinn Dunki] just reported in on the latest iteration in her computer project which is called Veronica. This time she added RAM to increase the VGA performance of her build. Like just about every other part of the project, [Quinn] knew what she wanted to do, but had to overcome a lot of issues along the way.

The goal is to implement a 256×240 display with 8-bit color depth. [Quinn] says this is on par with game console technology from the 1980’s. The problem is that the 10MHz AVR controller can’t really keep up with the scan rate of this size of display. The answer is to add RAM which stores all of the color data, the microcontroller will simply advance the address pointer on the memory chips to match the sync rate of the VGA output.

After hooking up her hardware design she gets a screen full of uninitialized pixel data. But moving from there to the final product seen above was quite frustrating. It turns out that noise on the breadboard was most of the problem, further compounded by entire breadboard row which wasn’t contacting the wires to make the temporary connections. A bit of jockeying for position and by Jove, she’s got a boot screen.

That breadboard sure has become crowded since her first VGA experiments.
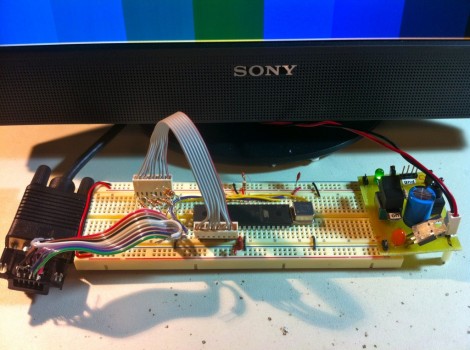
ATmega324 acts as a GPU for homebrew computer

[Quinn Dunki’s] homebrew computer project is moving up another evolutionary rung. She needs a more versatile user interface and this starts with the data output. Up to this point a set of 7-segment digits has served as a way to display register values. But her current work is aimed at adding VGA output to the system.

She starts off her write up by justifying the protocol choice. Although composite video would be easier to get up and running (we see it in a lot of AVR projects) [Quinn] doesn’t have a screen that will display composite video. But there’s also a lot of info out there about VGA signal generation. She delved into the specifics and even found a great AVR-based example over at Lucid Science.

The version seen above uses the 40-pin ATmega324. It’s a lot bigger than necessary for the example she put together, but in the future she plans to add video memory and will be glad to have all of those extra I/O pins. When it comes to video sync, timing is everything. She wrote the code to drive the display using assembly. In this way, she was able to look up the cycles used for each command to ensure that the loop is running with near perfect timing.

8-bit computer project lands in a Philco radio case

We’ve enjoyed seeing the development progress of Veronica, [Quinn Dunki’s] 8-bit computer project. It started out on a breadboard, then moved to edge-connected PCBs, and now [Quinn] has given Veronica a body of her own.

The donor is a Philco Model 42-327T and was produced in 1942. It was chosen because it is non-functional and missing several pieces. We wonder about the collector’s value of the piece but since [Quinn] snagged it from eBay there can’t be in huge demand right now. The teardown images are priceless. There seems to be no reasoning behind component placement for the beast. It looks more like a junk drawer packed full of relic components than something that actually worked once upon a time.

But we digress. After gutting the retro wooden case [Quinn] set out to fabricate her own face plate. Since she’s comfortable working with copper clad, she whipped up a negative design and etched the dashboard seen above. It mounts in the original dial opening, and hosts all of the controls she needs to work with the 8-bit computer. Just below is where the present buttons used to be located. You can just see the hexout display for reading data from the registers mounted in that void.